こんにちは、フロントエンドエンジニアのくりちゃんです! 自分の記事では前回まで、3Dオブジェクトと画像から位置情報や色を抜き出してきました。 Three.jsを使って3Dのモーフィングアニメーションを実装する Three.jsを使って画像からパーティクルアニメーションを実装する
![]() くりちゃん
くりちゃん
![]() くりちゃん
くりちゃん
今回紹介する2Dのモーフィングアニメーションは実務でも実装する機会が多く、先日リリースした下記のフロンティア株式会社様のコーポレートサイトでも似たような実装を行いました。それぞれのセクションやページで2Dのパーティクルが様々な形に変化していきます。こういった動きは躍動感が出ますよね。

それでは早速実装していきます。
デモ
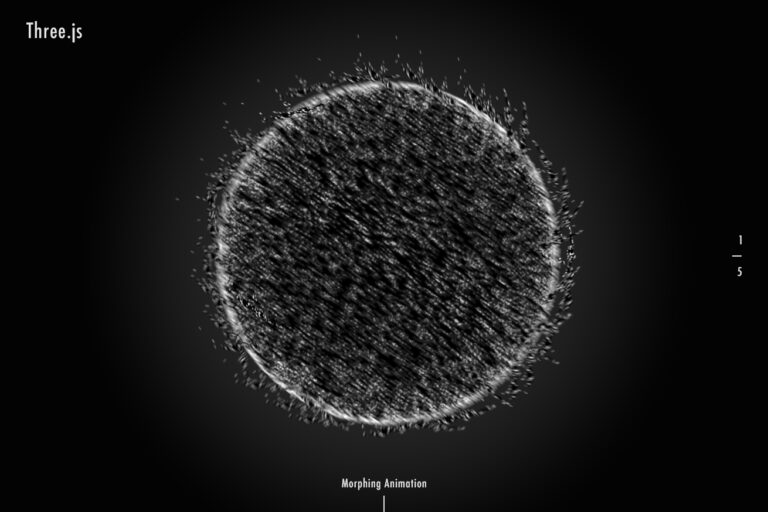
用意したデモはこちら。時間経過でパーティクルが丸、四角、星など様々な形に変わっていきます。今回の実装のポイントはイラストレーターで作成したパーティクルから座標を抜き出しているところです。そちらを中心に解説していきたいと思います!
See the Pen
Threejs Points 2D Mofing by Hisami Kurita (@hisamikurita)
on CodePen.
Step1 イラストレーターでパーティクルの座標を指定する
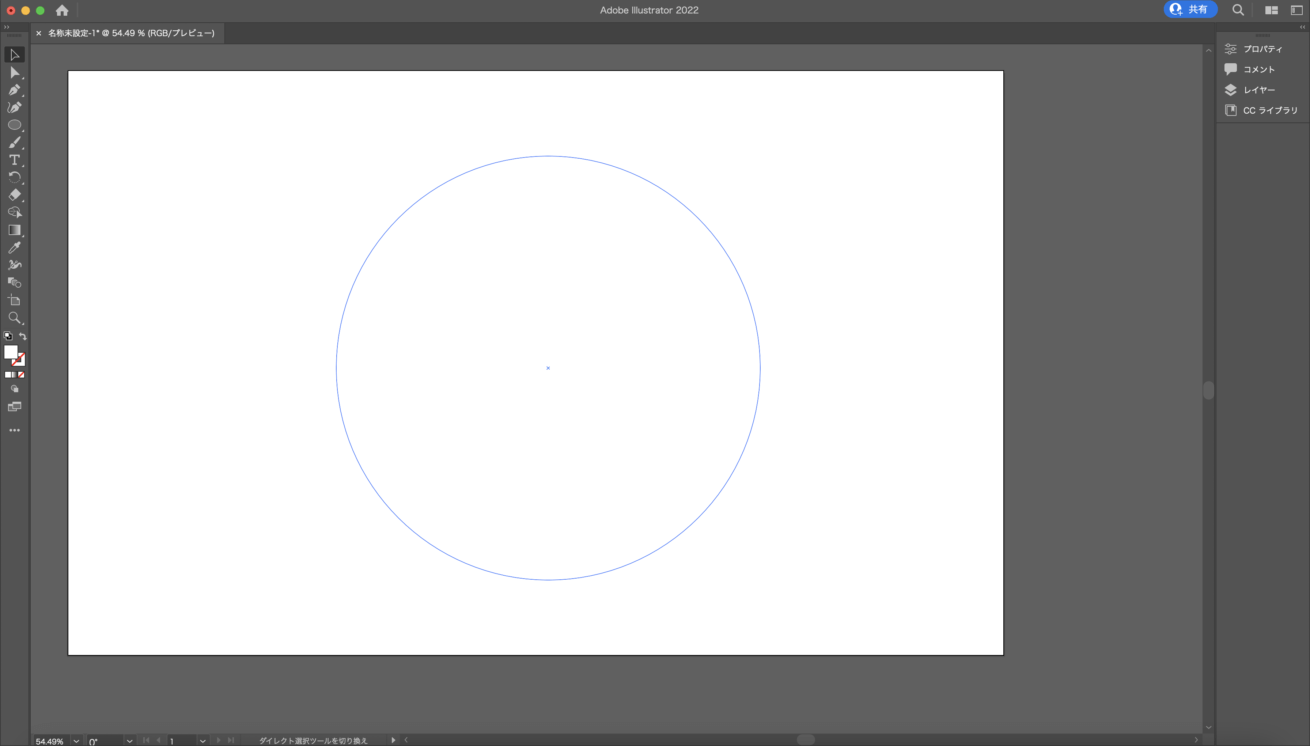
まず、下準備としてどんな形のパーティクルにするか、イラストレーターで作成していきます。オブジェクト内に円形を敷き詰めるスクリプトを使用して、任意の形に円形を敷き詰めます。
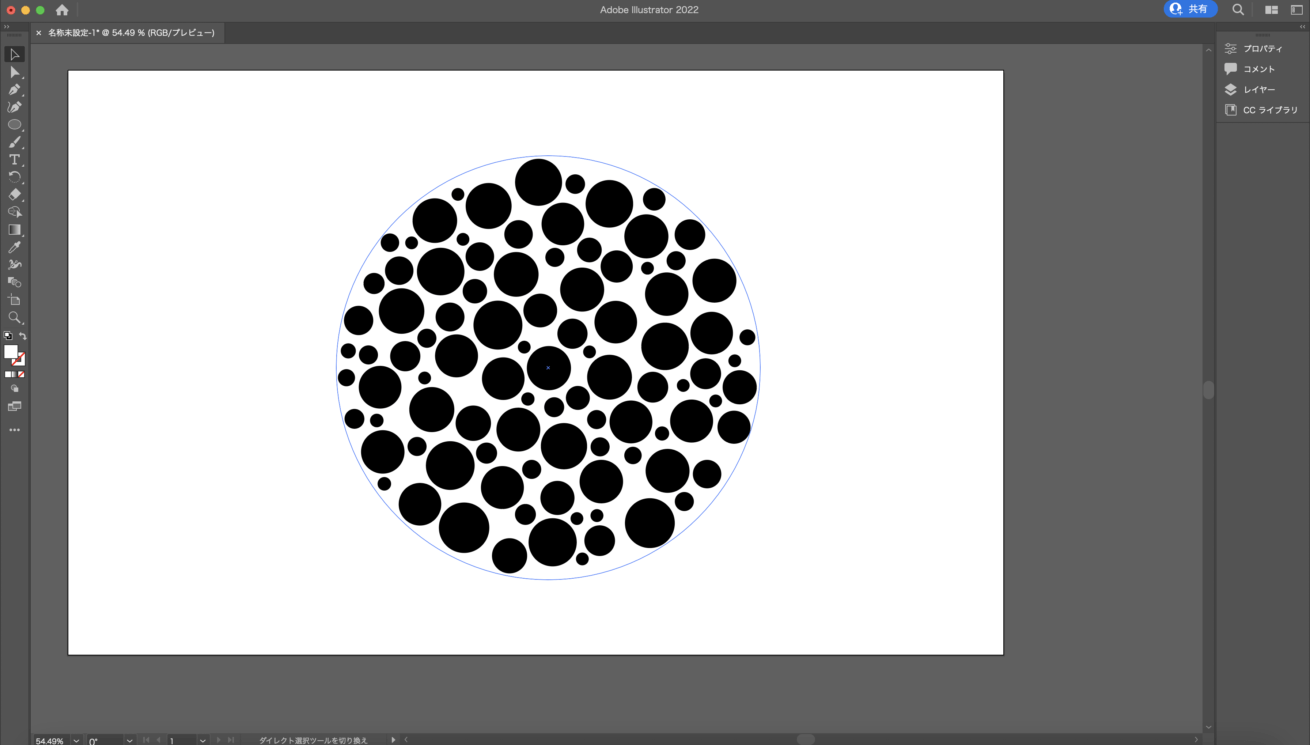
スクリプト実行。
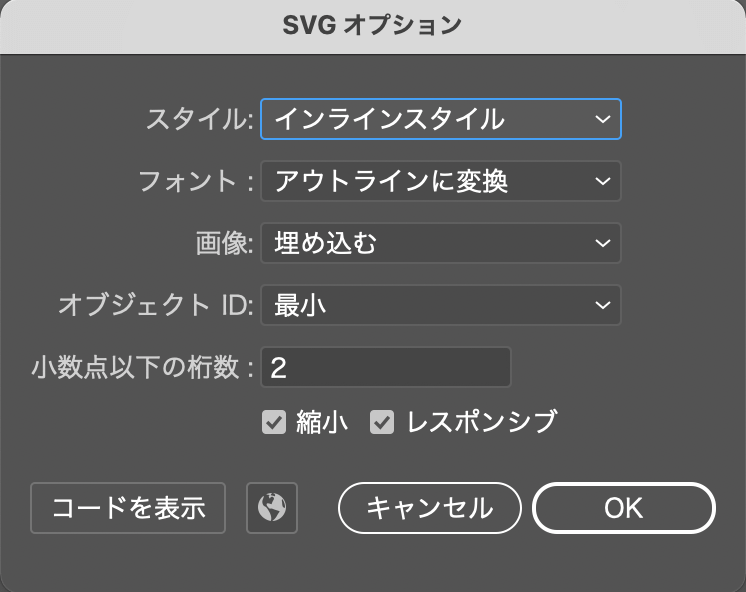
書き出す際は、オプションでスタイルをインラインスタイルに設定して書き出します。
<svg id="レイヤー_1" data-name="レイヤー 1" xmlns="http://www.w3.org/2000/svg" viewBox="0 0 587.41 595.3">
  <circle cx="245.03" cy="316.75" r="32.92" />
  <circle cx="228.12" cy="400.89" r="31.94" />
  <circle cx="87.34" cy="170.32" r="30.2" />
  ・・・ 省略 ・・・
</svg>
上記のようなSVGタグが出力されたら、circleタグの属性値に設定されている、X座標、Y座標、円の大きさを取得していきます。これをモーフィングさせたい数の分用意します。
Step2 出力したSVGから座標を取得する
出力したSVGから、X座標、Y座標、円の大きさを取得していきます。
/**
 * Fisher-Yates のシャッフルアルゴリズムを用いた配列のシャッフル
 */
const shuffleArray = (sourceArray) => {
	const array = sourceArray.concat();
	const arrayLength = array.length;
	for (let i = arrayLength - 1.0; i >= 0; i--) {
		const randomIndex = Math.floor(Math.random() * (i + 1.0));
		[array[i], array[ randomIndex ]] = [array[ randomIndex ], array[i]];
	}

	return array;
};
const maxLength = 126;
const getSvgCircleAttribute = (viewBox, target) => {
const targetSvgCircle = shuffleArray([...target]);
const particleScenePosition = [];
const particleSceneRadius = [];
for (let i = 0; i < targetSvgCircle.length; i++) {
const x = ((Number(targetSvgCircle[i].attributes.cx.value) / viewBox.width) * 2.0 - 1.0) * viewBox.width / 2;
const y = -((Number(targetSvgCircle[i].attributes.cy.value) / viewBox.height) * 2.0 - 1.0) * viewBox.height / 2;
const z = 0;
const r = Number(targetSvgCircle[i].attributes.r.value) * 4.0;
particleScenePosition.push(x, y, z);
particleSceneRadius.push(r);
}
/**
* パーティクルの数を統一するために、最大数に足りない場合はランダムな座標にパーティクルを置いておく
*/
for (let i = 0; i < maxLength - targetSvgCircle.length; i++) {
const x = (Math.random() * 2.0 - 1.0) * viewBox.width / 5;
const y = -(Math.random() * 2.0 - 1.0) * viewBox.height / 5;
const z = 0;
const r = 0;
particleScenePosition.push(x, y, z);
particleSceneRadius.push(r);
}
return {
position: particleScenePosition,
radius: particleSceneRadius,
};
}const targetSvgCircle = shuffleArray([...target]);アニメーションさせる際に、ランダムな座標にパーティクルを動かすために、Fisher-Yatesのシャッフルアルゴリズムを用いた配列のシャッフルを使用し、取得したcircleタグをシャッフルしておきます。
const x = ((Number(targetSvgCircle[i].attributes.cx.value) / viewBox.width) * 2.0 - 1.0) * viewBox.width / 2;
const y = -((Number(targetSvgCircle[i].attributes.cy.value) / viewBox.height) * 2.0 - 1.0) * viewBox.height / 2;その後、circleタグのcx、cyを取得、正規化してwebgl座標に合わせた後、大きさを元に戻します。
Step3 シェーダーで計算させる
this.circle = document.querySelector('.circle');
this.circleViewBox = this.circle.viewBox.baseVal;
this.circleDom = this.circle.querySelectorAll('circle')
this.circleObject = getSvgCircleAttribute(this.circleViewBox, this.circleDom);

this.star = document.querySelector('.star');
this.starViewBox = this.star.viewBox.baseVal;
this.starDom = this.star.querySelectorAll('circle')
this.starObject = getSvgCircleAttribute(this.starViewBox, this.starDom);

this.square = document.querySelector('.square')
this.squareViewBox = this.square.viewBox.baseVal;
this.squareDom = this.square.querySelectorAll('circle')
this.squareObject = getSvgCircleAttribute(this.squareViewBox, this.squareDom);

this.hexagon = document.querySelector('.hexagon')
this.hexagonViewBox = this.hexagon.viewBox.baseVal;
this.hexagonDom = this.hexagon.querySelectorAll('circle')
this.hexagonObject = getSvgCircleAttribute(this.hexagonViewBox, this.hexagonDom);
さきほど用意した関数を実行して、それぞれの形のパーティクルの位置と大きさを取得します。
const geometry = new THREE.BufferGeometry();
const circlePosition = new THREE.BufferAttribute(new Float32Array(this.circleObject.position), 3);
const circleRadius = new THREE.BufferAttribute(new Float32Array(this.circleObject.radius), 1);
const starPosition = new THREE.BufferAttribute(new Float32Array(this.starObject.position), 3);
const starRadius = new THREE.BufferAttribute(new Float32Array(this.starObject.radius), 1);
const squarePosition = new THREE.BufferAttribute(new Float32Array(this.squareObject.position), 3);
const squareRadius = new THREE.BufferAttribute(new Float32Array(this.squareObject.radius), 1);
const hexagonPosition = new THREE.BufferAttribute(new Float32Array(this.hexagonObject.position), 3);
const hexagonRadius = new THREE.BufferAttribute(new Float32Array(this.hexagonObject.radius), 1);
geometry.setAttribute('position', circlePosition);
geometry.setAttribute('radius', circleRadius);
geometry.setAttribute('starPosition', starPosition);
geometry.setAttribute('starRadius', starRadius);
geometry.setAttribute('squarePosition', squarePosition);
geometry.setAttribute('squareRadius', squareRadius);
geometry.setAttribute('hexagonPosition', hexagonPosition);
geometry.setAttribute('hexagonRadius', hexagonRadius);
取得した情報をジオメトリーにセットします。
シェーダーに送った情報をmix関数を用いて計算させていきます。閾値はuniform変数をJavaScriptからGSAPを使用して0~1に変化させます。
_setLoop(number) {
  switch (number) {
    case 0:
      gsap.to(this.mesh.material.uniforms.u_switch_01, {
        duration: this.duration,
        ease: this.ease,
        value: 1.0
      });
      break;
    case 1:
      gsap.to(this.mesh.material.uniforms.u_switch_02, {
        duration: this.duration,
        ease: this.ease,
        value: 1.0
      });
      break;
    case 2:
      gsap.to(this.mesh.material.uniforms.u_switch_03, {
        duration: this.duration,
        ease: this.ease,
        value: 1.0
      });
      break;
    case 3:
      gsap.to(this.mesh.material.uniforms.u_switch_04, {
        duration: this.duration,
        ease: this.ease,
        value: 1.0,
        onComplete: () => {
          gsap.set(this.mesh.material.uniforms.u_switch_01, {
            value: 0.0
          });
          gsap.set(this.mesh.material.uniforms.u_switch_02, {
            value: 0.0
          });
          gsap.set(this.mesh.material.uniforms.u_switch_03, {
            value: 0.0
          });
          gsap.set(this.mesh.material.uniforms.u_switch_04, {
            value: 0.0
          });
        }
      });
      break;
  }
}
また、ループ用に一番最後に最初の形の位置と大きさを用意しておいて、閾値の値が変化した後に、全ての閾値を0に戻すことで最初の形の位置と大きさになり、ループの辻褄を合わせています。
▼頂点シェーダー
attribute vec3 position;
attribute float radius;
attribute vec3 starPosition;
attribute float starRadius;
attribute vec3 squarePosition;
attribute float squareRadius;
attribute vec3 hexagonPosition;
attribute float hexagonRadius;
uniform float u_switch_01;
uniform float u_switch_02;
uniform float u_switch_03;
uniform float u_switch_04;
uniform mat4 modelViewMatrix;
uniform mat4 projectionMatrix;

void main() {
    vec3 toStarPosition = mix(position, starPosition, u_switch_01);
    vec3 toSquarePosition = mix(toStarPosition, squarePosition, u_switch_02);
    vec3 toHexagonPosition = mix(toSquarePosition, hexagonPosition, u_switch_03);
    vec3 loopInitPosition = mix(toHexagonPosition, position, u_switch_04);

    float toStarRadius = mix(radius, starRadius, u_switch_01);
    float toSquareRadius = mix(toStarRadius, squareRadius, u_switch_02);
    float toHexagonRadius = mix(toSquareRadius, hexagonRadius, u_switch_03);
    float loopInitRadius = mix(toHexagonRadius, radius, u_switch_04);

    gl_Position = projectionMatrix * modelViewMatrix * vec4(loopInitPosition, 1.0);
    gl_PointSize = loopInitRadius;
}
終わりに
いかがでしたでしょうか。実務でこの方法を使用する場合はSVGの座標をNode.jsなどを使ってJSONであらかじめ吐き出してそれを読み込むようにすると、パフォーマンスの向上に繋がると思います。
また、結局は座標と大きさなどの情報を取得できれば良いのでツールは何でも良いです。数ある方法の中の一つとして捉えていただけると幸いです。
次回はパーティクル以外のThree.jsネタをお届けしたいと思います!それではまた。
LIGはWebサイト制作を支援しています。ご興味のある方は事業ぺージをぜひご覧ください。