こんにちは、フロントエンドエンジニアのぜんちゃんです。
最近はアニメーション表現を増やすために、canvasの勉強を始めました。そこで、今回はcanvasやJavaScriptの基本技術を使って、円がランダムに動くパーティクルアニメーションを実装したいと思います。
今回作るアニメーションはこちらです。
それでは順を追って作っていきます! 記事内で出てくるcodepenのコードが動かない場合、codepen右下のrerunを押してみてください!
円を作成・描画する
canvas要素を作成し、そのcanvas内に円を作っていきます。
まずは一つだけ作りたいと思います。
<canvas id="canvas"></canvas>// キャンバス要素を取得
const canvas = document.getElementById('canvas');
// キャンパスに描画するコンテキストを取得
const ctx = canvas.getContext('2d');
// キャンバスサイズをwindowサイズに
canvas.width = window.innerWidth;
canvas.height = window.innerHeight;
// 円をかく
ctx.beginPath();
ctx.arc(100, 100, 10, 0, Math.PI * 2, true);
ctx.fillStyle = "#E67A7A";
ctx.fill();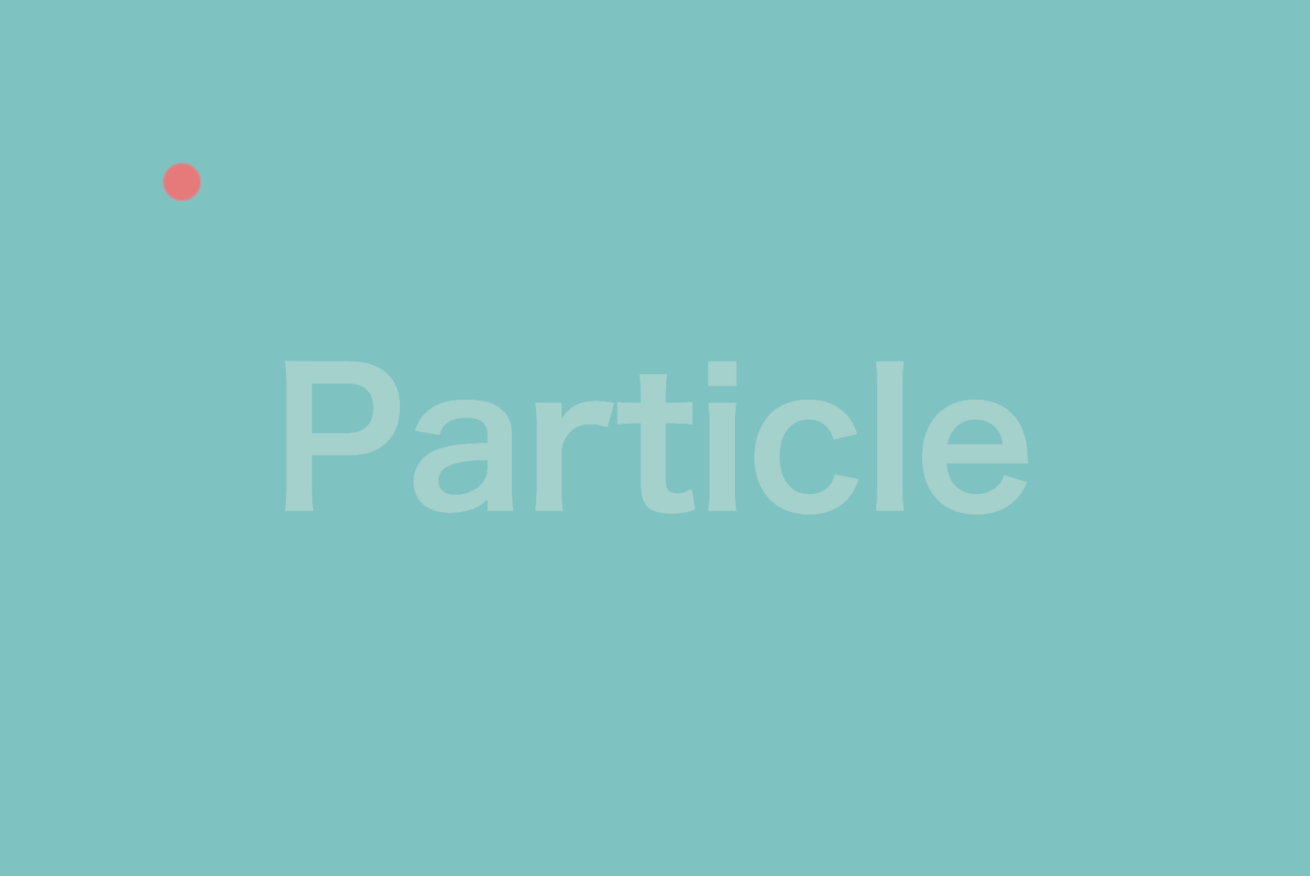
これで円を一つcanvas要素に描画することができました。
classへの変換
先ほどのコードを使いやすいようにclassに変換します。
const canvas = document.getElementById('canvas');
const ctx = canvas.getContext('2d');
canvas.width = window.innerWidth;
canvas.height = window.innerHeight;

class Particle {
  constructor(x, y, radius, directionX, directionY) {
    this.x = x;
    this.y = y;
    this.radius = radius;
    this.directionX = directionX;
    this.directionY = directionY;
  }
  render() {
    // 円をかく
    ctx.beginPath();
    ctx.arc(this.x, this.y, this.radius, 0, Math.PI * 2, true);
    ctx.fillStyle = "#E67A7A";
    ctx.fill();
  }
}

const particle = new Particle(100, 100, 10, 0, 0);
particle.render();
定期的に処理を実行させる
次に、アニメーションにするために、定期的に処理を実行させるコードを書いていきます。requestAnimationFrame を使用し、毎秒約60回実行される関数を作成します。
render();

window.requestAnimationFrame =
  window.requestAnimationFrame ||
  window.mozRequestAnimationFrame ||
  window.weblitRequestAnimationFrame ||
  window.msRequestAnimationFrame ||
  function (cb) { setTimeout(cb, 17); };

function render() {
  console.log('test');
  requestAnimationFrame(render);
}
これでrender関数が定期的に実行されるようになりました。
円を動かす
次に円を動かすためにParticleClass内にrequestAnimationFrameで実行される処理を書きます。
class Particle {
  constructor(x, y, radius, directionX, directionY) {
    // 省略
  }
  render() {
    // 省略
  }
  update() {
    ctx.clearRect(0, 0, canvas.width, canvas.height);
    this.x ++;
    ctx.beginPath();
    ctx.arc(this.x, this.y, this.radius, 0, Math.PI * 2, true);
    ctx.fillStyle = "#E67A7A";
    ctx.fill();
  }
}
clearRect で一度canvas内をリセットし、再描画しています。再描画する際にx座標を+1する事によって右にずらしています。
これで先ほど定期的に実行されるようにしたrender関数内にupdate()を呼び出す処理をかけばOKです!
function render() {
  particle.update();
  requestAnimationFrame(render);
}円をリピートさせる
しかし、今のままでは右に行ったきり帰ってきません。そのため、this.x ++; でひたすら右に動かしていたところを、条件分岐を使い、canvas要素の右に行った時に左に戻すようにします。
this.x ++;
if(this.x > canvas.width) {
  this.x = 0;
}これで一つの円を動かす事ができました。あとはこれをランダムに増やしていきます!
円をランダムに増やす
まず、円を表示する数とそれぞれの円の情報を入れておく配列の変数を定義します。
const NUM = 50; // 表示数
const particles = [];
そしてparticles配列に作成したオブジェクトを格納していきます。再描画の処理もfor文でupdateを実行させます。
init();
render();

function init() {
  for(let i = 0; i < NUM; i++) {
    // particles
    const x = Math.random() * canvas.width;
    const y = Math.floor(Math.random() * canvas.height);
    const radius = Math.floor(Math.random() * 40);
    const directionX = Math.random() * 2;
    const directionY = Math.random() * 2 - 1;
    const particle = new Particle(x, y, radius, directionX, directionY);
    particles.push(particle);
  }
}

function render() {
  ctx.clearRect(0, 0, canvas.width, canvas.height);
  for(let i = 0; i < particles.length; i++) {
    particles[i].update();
  }
  requestAnimationFrame(render);
}
丸の位置・サイズ・スピードなどはrandomの値を設定します。
Math.random()で0~1のランダムな値が出力されるので、例えばxには0~画面横幅のサイズまでの値を設定したいので、Math.random() * canvas.width とします。
これで位置・サイズ・スピードなどがバラバラの円を50個作成することができました。
円の種類を増やす
次に、円の種類を増やします。
今は一色で塗りつぶされた丸だけですが、そこをランダムに違う色にしてみます。
まず、下記の部分でiという引数を増やします。
iはfor文で使っているkey数値なので、1,2,3……といった数値が渡されます。
const particle = new Particle(x, y, radius, directionX, directionY, i);そしてクラス内のrender()関数でこのように条件分岐をし、3つの種類の丸を作成します。
render() {
    if(this.index % 3 === 0) {
      ctx.fillStyle = "#fff";
      ctx.fill();
    } else if(this.index % 3 === 1) {
      ctx.strokeStyle = "#fff";
      ctx.lineWidth = 1;
      ctx.stroke()
    } else {
      ctx.globalAlpha = 0.8;
      ctx.fillStyle = "#0f0091";
      ctx.fill();
    }
    // 円をかく
    ctx.beginPath();
    ctx.arc(this.x, this.y, this.radius, 0, Math.PI * 2, true);
}色も変えてみました。いい感じですね!
まとめ
今回、canvasでパーティクルを作成してみました。普段あまりこういった表現を実装することがないので、新鮮で楽しかったです。次はもっとマウス連動する動きや、ライブラリを使って違う表現を試したりしてみようと思います!
以上、ぜんちゃんでした!
LIGはWebサイト制作を支援しています。ご興味のある方は事業ぺージをぜひご覧ください。